
photograph from Julie Baerwald
I was so inspired by the cookies I made two cards: the first totally from scratch, and the second using a mini kit. Sounds just like I was baking, doesn't it?
Thought my new Fancy Foliage Details Dies (NBUS as Darnell would say) might work beautifully with Rosie Posie. If you enlarge the photo, you can see how I highlighted Step 2 of Rosie Posie using my Gelly Roll Glitter Pen.
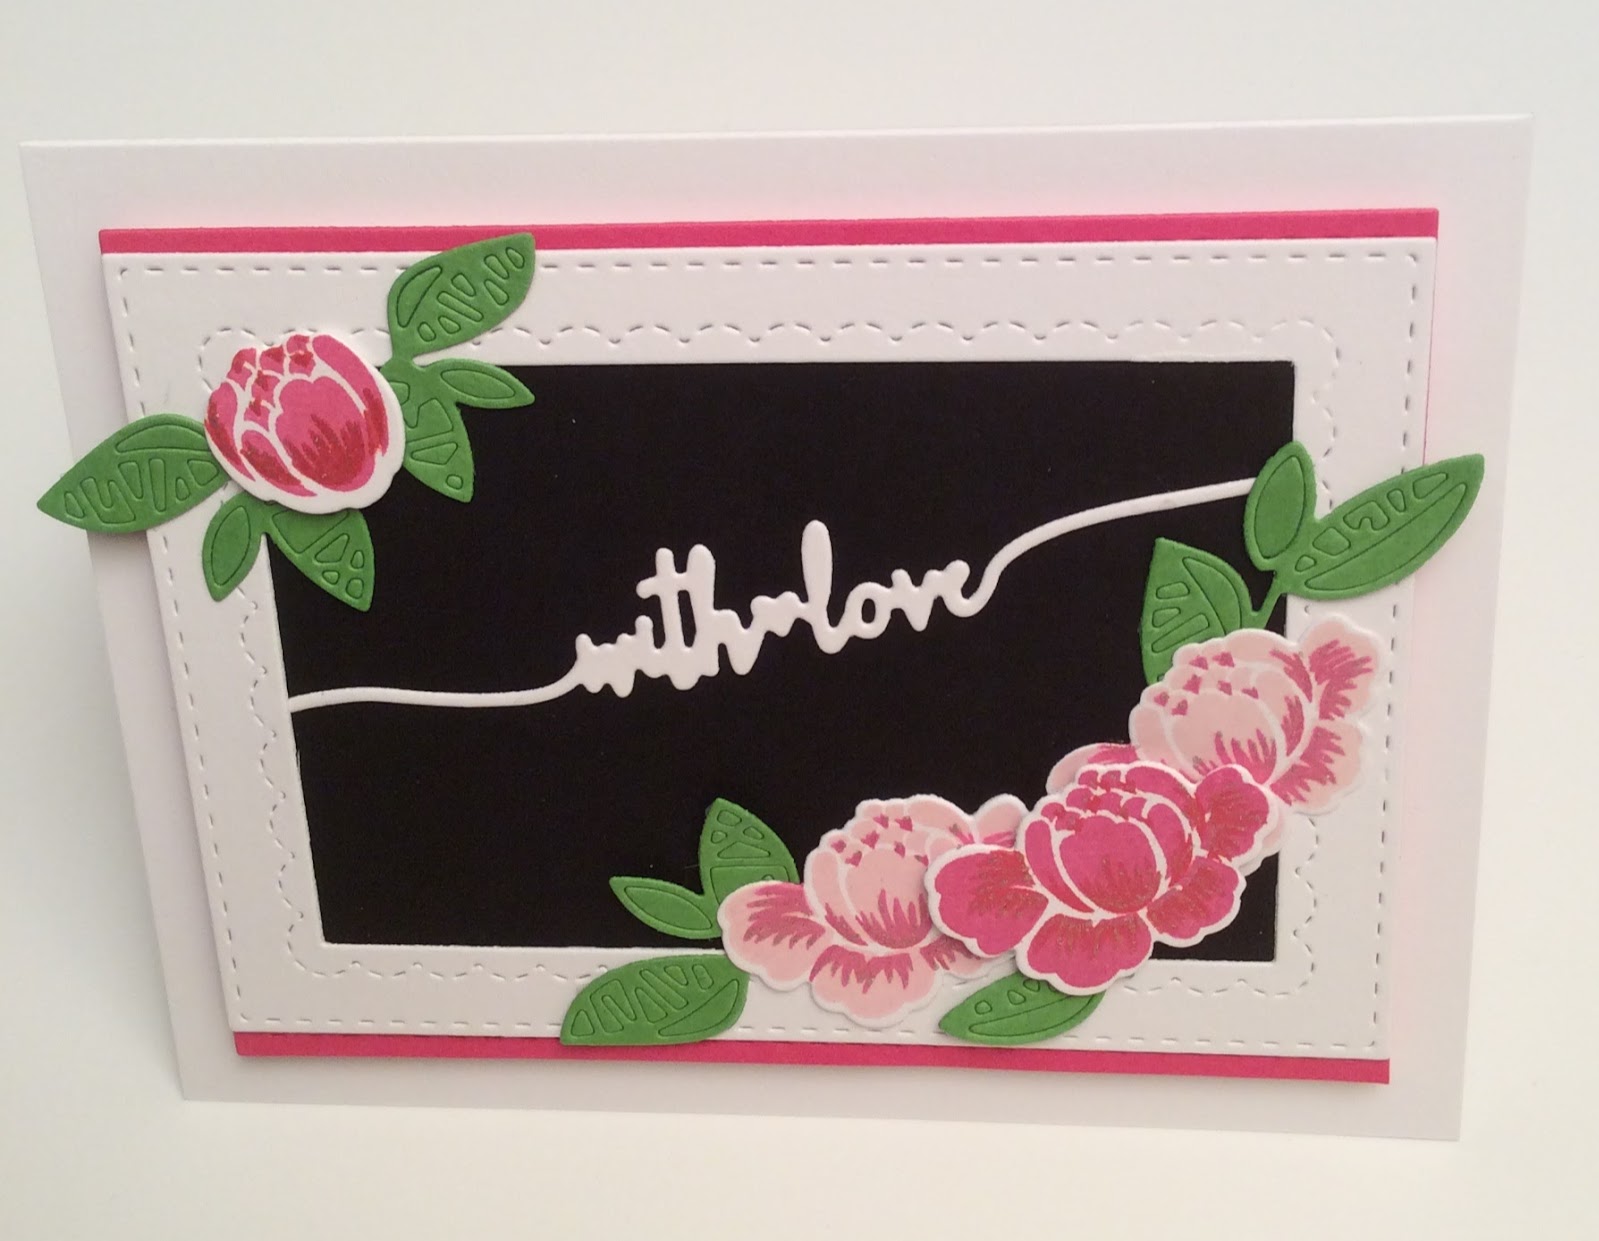
Supplies: (all PTI unless noted)
Cardstock: Stamper's Select White, Basic Black, Raspberry Fizz and New Leaf
Ink: Sweet Blush, Raspberry Fizz and Pure Poppy
Stamps: Rosie Posie and Rosie Posie Step 2
Dies: Rosie Posie, Fancy Foliage Details, Swoosh, Noted: Scalloped A2 Vertical and MFT Stitched Rectangles
Other: White Foam, Stampin' Up Dimensionals and Gelly Roll Glitter Pen
* * * * *
This is the first time I used the dies from this fabulous kit with the preprinted florals. Lining them up was easy (thanks, Betsy), but it was still more time consuming than anticipated. Definitely worth the effort though...at least in my opinion. What to you think?

Some of the die-cuts were popped up for added dimension and highlighted with glossy accents to look more like icing. Popped up the "love" sentiment on white foam, adhered to a white card base and called it finished. Off hopping to see what others created for the challenge!
Also entering the first card in Darnell's NBUS Challenge #9, Word Art Wednesday and SSS Wednesday Challenge: Anything Goes.
Thanks for stopping by. I sincerely appreciate your comments. ❤️
Supplies: (all PTI unless noted)
Cardstock: Stamper's Select White and Make It Market Mini Kit: Color Pop Florals
Ink: None
Stamps: None
Dies: Make It Market Mini Kit: Color Pop Florals and Wet Paint
Other: Stampin' Up Dimensionals, White Foam and Glossy Accents


